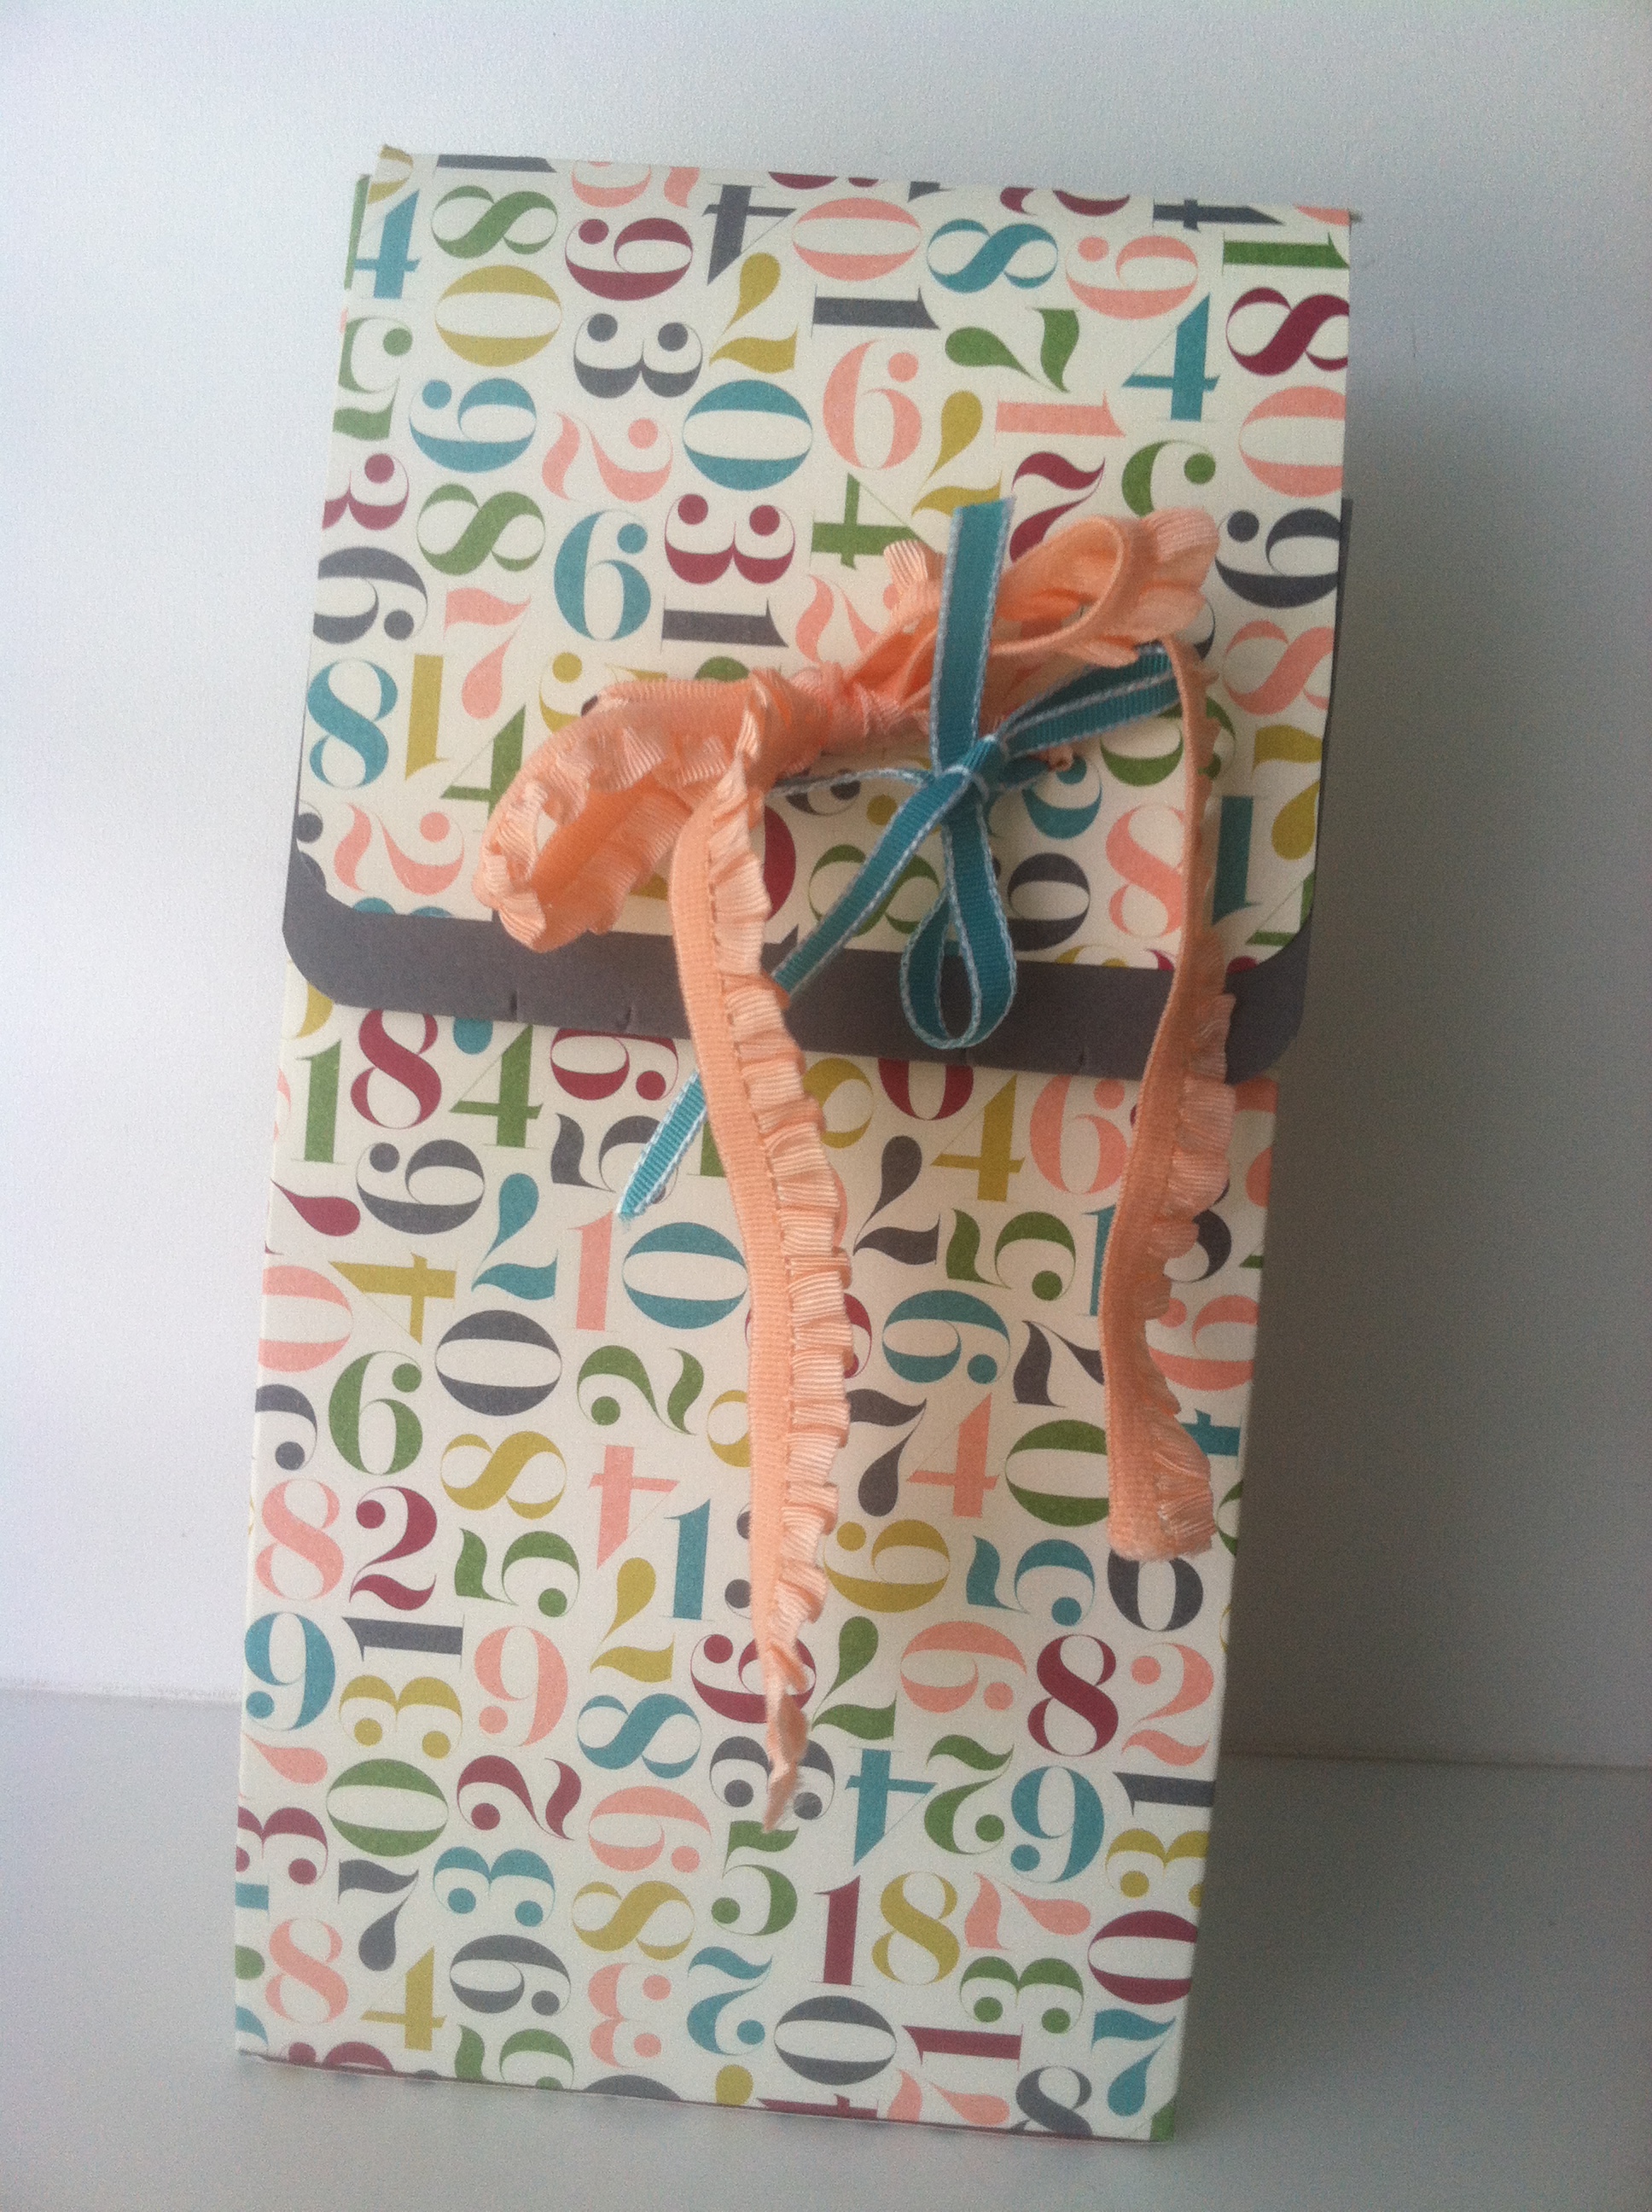
Adorable 12″ x 12″ Birthday Treat Bag Tutorial
Stampin’ Up! Supplies:
- Birthday Basic DSP
- Basic Gray card stock
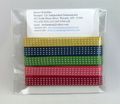
- Crisp Cantaloupe Ruffle Trim
- Bermuda Bay 1/8″ Ribbon
- Stampin Trimmer
- 1/8″ Hole Punch
- Sticky Strip
As I was perusing Pinterest this morning, I ran across the cutest bag tutorial from Pootles Papercrafts, another Stampin’ Up! demonstrator. I am trying to use up my enormous stash of designer series paper and this is the perfect way to do it. In addition, the DSP is retiring on the first of June and you don’t want to miss out.
Let me tell you a little secret. Tomorrow there is going to be a HUGE CLEARANCE BLOWOUT. And everything is going to sell out. At like 12:00AM. So, with that said, order TODAY or at midnight tonight, because when items hit the clearance rack, they rarely last more than a few hours!
I am going to refer you to the video because it makes putting it together easier for you and will make more sense. However, I have listed the measurements and directions below so that you can look back for reference and go along with the video.
Here is the link to the tutorial: https://www.youtube.com/watch?v=gUK4pUULkas
Directions:
Use DSP Paper that measures 12×12″
Score at 2 1/4, 5 3/4, 8, 11 1/2″.
Score on the opposite side at 2 1/4 and 9 1/4″.
Cut all bottom slits (smaller scored side). Cut out the smallest sliver. For the top, which is the larger of the scored panels, cut off all but the second panel from the right, including the sliver (So that makes it the first LARGE panel on the right hand side- leave that one in tact).
Happy Crafting!