Why you should use My Digital Studio

I am sure I have mentioned why I love Stampin’ Up!’s My Digital Studio for making digital cards, party decorations and scrapbook pages, but today I will be a little bit more detailed.

I LOVE MY DIGITAL STUDIO!!

It is so simple to make thousands of projects.  You can make them from scratch or download a pre-made design and print it out without changing a thing!

Here’s why I love it today:

  • It is only $19.95 and comes loaded with digital content.
  • It is compatible with the Silhouette electronic cutter, so you can cut out any stamped image or digital punch.
  • Scrapbook pages are easily printed into a board book or soft cover book!
  • Party invitations, decorations and cards are done in a snap.
  • You can be that crafty person who all the other moms swoon over. How do you have time for that? It only takes a few minutes.
  • There is a website mydigitalstudio.net devoted to tech support, crafty ideas, and help with anything you could ever need.

So, here is today’s project for MDS Monday.  I am working on 1st birthday invitations for Silas.  This is my starting sample.  It is just the start of a whole theme that will come together for his Circus themed birthday party.  I know there will be many changes made to his invitation, but for now, it is an easy starting place to make it perfect for Silas.

Silas Invitation-002

Happy Crafting!!

Stampin’ Blossoms

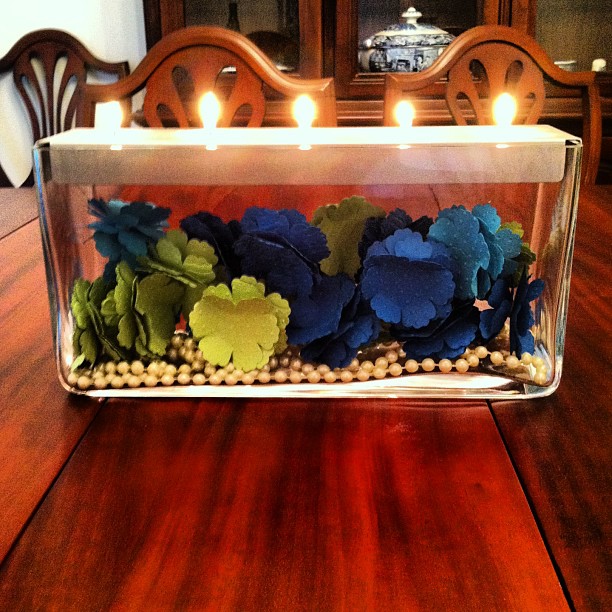
Well, I love card making, but Stampin’ Up! products allow me to do so much more than just make cards.  I decided to make some blooms to fill my Partylite Customizable Centerpiece.  This was a quick project that takes thirty minutes or less.

Here’s how I did it.

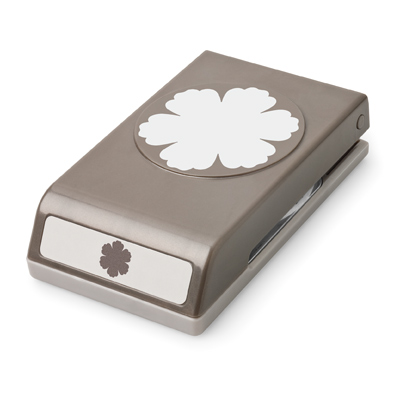
I punched out 5 sheets of blossoms with the blossom punch. You can fit about 15 or 16 blooms on each sheet of 8 1/2″ x 11″ if you punch them out strategically .  I used Pacific Point, Tempting Turquoise, and Pear Pizzaz card stock.  I wanted the flowers to look fuller, so I ran 6 flowers at a time through the Big Shot in embossing folders. I used beautifully Baroque and Polka Dots embossing folders.  They created beautiful texture. I then ruffled the flowers by bending all of the petals up towards the center of the flowers.

Each bloom has 4 punches. Use dimensionals in between layers and use two facing one direction and two facing the opposite direction (back to back) of folds to ensure the blooms look full and even on both sides.

1157525_986403772089_995390145_n

Stampin’ Up! supplies:

  • Pacific Point card stock
  • Tempting Turquoise card stock
  • Pear Pizzaz card stock
  • Polka dots embossing folder
  • Beautifully Baroque embossing folder
  • Big Shot
  • Dimensionals

125603L

I102067S I111350S 131201S

You can recreate this decor in any colors of card stock you wish.

More ideas for using paper blooms:

Baby Shower decorations

Bedroom Door Streamers

Birthday Party

Headband

Wreath

Fill a vase or mason jar

Wedding centerpieces

Seasonal mantle banner

Paper Bloom Bouquet

Paper Flower Poms